Step 1
[column-group]
[column] [/column]
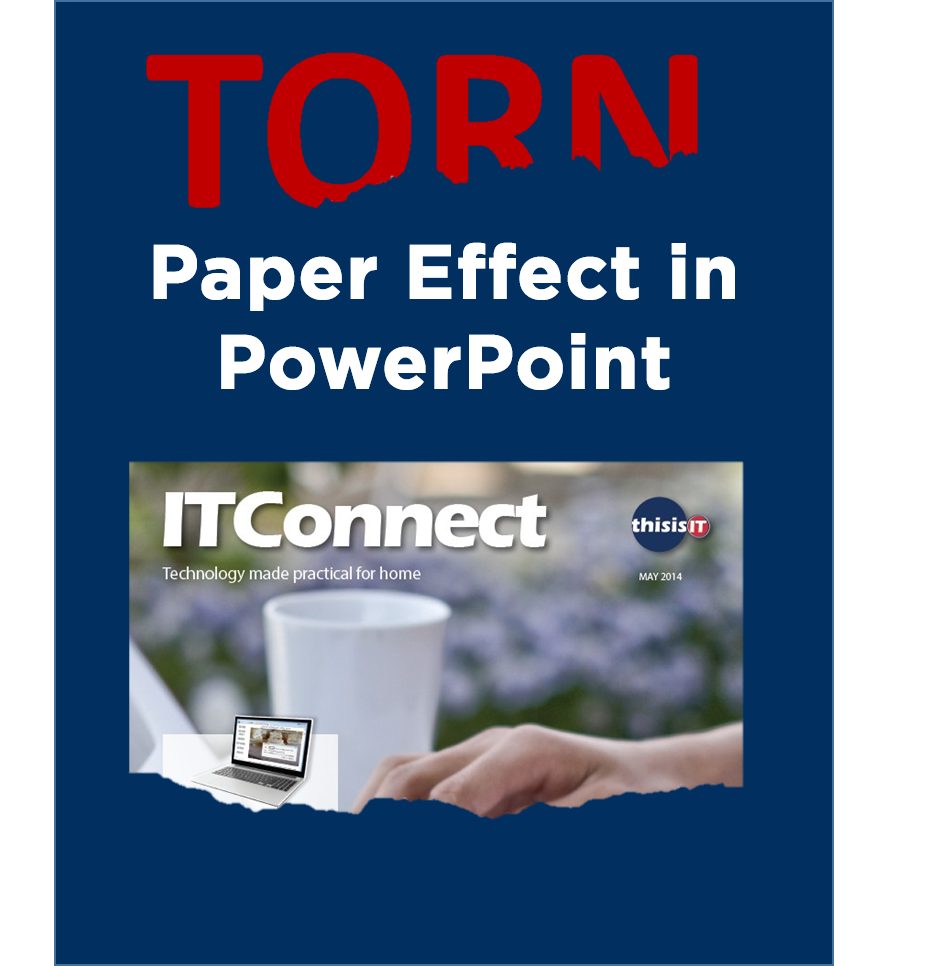
[column]Set up your slide, including the items you want to apply the torn paper effect to.[/column]
[/column-group]
Step 2
[column-group]
[column]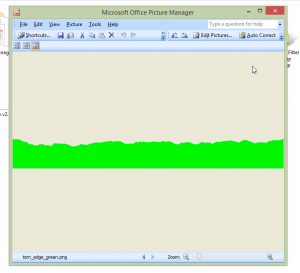 [/column]
[column]Download the following image file, which is what we will use to add the torn edge. Click the link to download the file, and save it on your computer.
[download id=”681″]
[/column]
[/column-group]
Step 3
[column-group]
[column]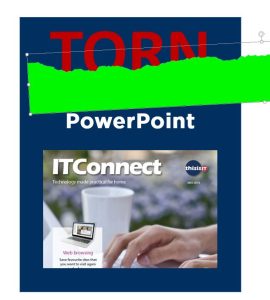 [/column]
[column]Now insert the image you downloaded in the previous step into your PowerPoint slide. Position it on top of the element you want to apply the torn edge effect to.
Try changing the size of this image, smaller and larger, as well as stretching it, to achieve different looks. If you stretch it taller, the groove in the rip will be larger for example.
[/column]
[/column-group]
Step 4
[column-group]
[column]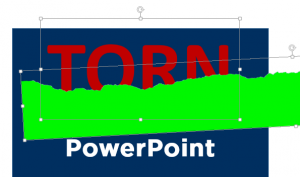 [/column]
[column]Select both the item you are applying this effect to as well as the inserted green torn effect image. You do this by clicking on one of the items, and then clicking on the second item while you hold the CTRL key down.
Next, cut the selected items by pressing the CTRL and X keys together. At this point, the images will disappear.
[/column]
[/column-group]
Step 5
[column-group]
[column]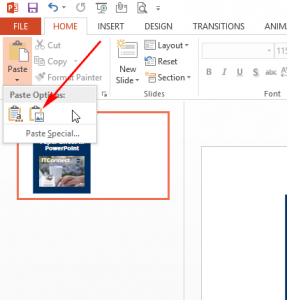 [/column]
[column]Now select the “Paste” dropdown list from the Home tab, and select the paste as “Picture” option.
The two items you cut in the previous step will now re-appear as a single image. Move it back into place if it has moved.
[/column]
[/column-group]
Step 6
[column-group]
[column]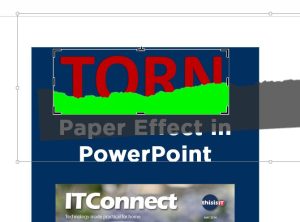 [/column]
[column]If needed, select the Image and use the CROP tool that appears on the Picture Tools Format tab to cut the image down to size, removing any extra parts of the image, as shown here.
[/column]
[/column-group]
Step 7
[column-group]
[column]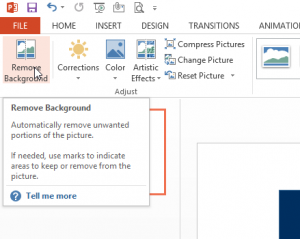 [/column]
[column]Now, making sure the image is selected, click the Remove Background button on the Picture Tools Format tab.
[/column]
[/column-group]
Step 8
[column-group]
[column]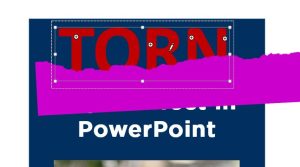 [/column]
[column]The remove background tool will insert a frame over the image, and will show the parts that will be removed in purple. Adjust the size of the frame so it fits as closely around the item you want to apply the torn paper effect to, ignoring the green image you downloaded from this website.
Next click the “Mark areas to keep” button in the Background removal tab and click on any parts of your item that have been marked in Purple until the only thing marked in Purple is the green part of the torn paper image – as shown here. Then click the “Keep changes” button.
[/column]
[/column-group]
Step 9
[column-group]
[column] [/column]
[column]That’s it! The green area should now be removed from your image, leaving your original item with a torn edge.
[/column]
[/column-group]
Step 10
[column-group]
[column]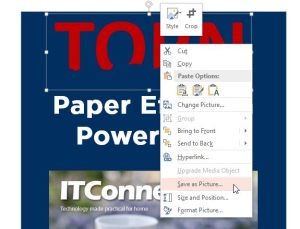 [/column]
[column]If you want to use this image in another program – for example as an image in an email – you can right click it and select “Save as Picture”. This will save the item, with the torn edge effect, so you can use it anywhere else – even on your website!
[/column]
[/column-group]
Repeat the process for any other items you want to apply this effect to, except you won’t need to download a second copy of the image – you can reuse it as many times as you want.
Please check our online training for Microsoft Office – including PowerPoint – at our online shop: www.e-thisisit.com/shop


