How to create a rubber Ink Stamp Effect in PowerPoint
(If this isn’t what you were looking for, please scroll to the end of the post)
We have just made a little image file available to you that you can use to convert a stamp from plain to authentic, check it out:
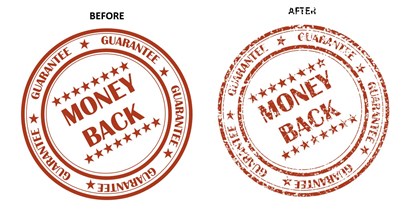
There is no tricky tecnique involved here – all it is an image file that you download from our site, and then insert on top of your text, icon or stamp that you’ve created in PowerPoint.
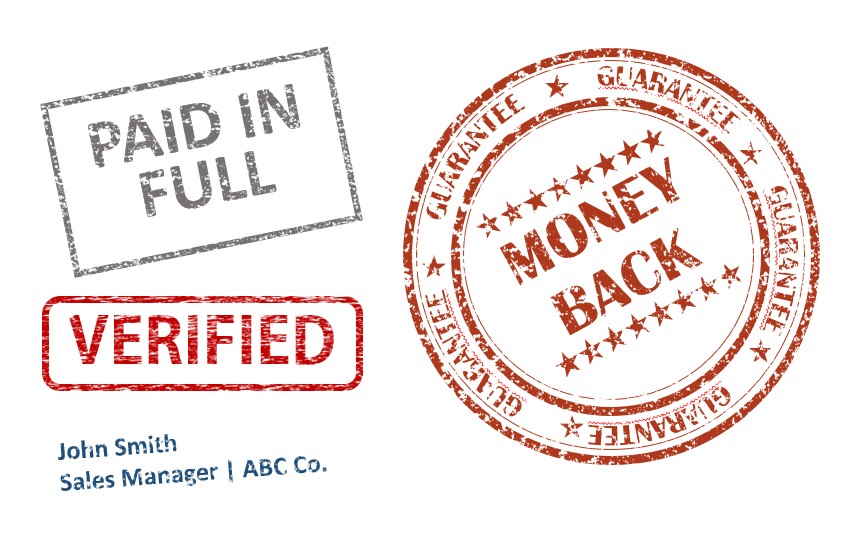
Here are some more examples of the stamp effect created using PowerPoint:
How to create a Stamp Effect in PowerPoint
In PowerPoint, create your stamp using shapes, text etc. Remember to use duller colours to imitate a stamp as closely – for example, use grey scales instead of black. Also remember to use just one colour, and rotate it slightly to give it an authentic wonky look!

To create this stamp I used:
– Several circles from the Shapes tool – insert > shapes
– I set the width of line by selecting the circle, then going to the Drawing Tool tab, then clicking on the Shape Outline drop down menu and selecting the width from the Weight options.
– I created the stars using the Shapes tool as well, and the aligned them all up using the PowerPoint guides. I actually grouped them so they would all move around as one object by selecting them all, then right clicking and selecting Group > Group
– We created the text in a circle using a text box and then applying the Follow Path text effect. You can get to this by selecting the text box, then going to the Drawing Tools tab > Text Effects > Transform > Follow Path > Circle
– I then used one of the stars to put in the circle of text as well – they’re not exactly well placed here, but you get the idea.
Once I had the stamp set up how I wanted it to look, all I had to do to give it the ink stamp effect is import the stamp filter you download from this page and place it on top of this image. If “import” sounds too difficult, you can actually copy the file from your folders once you have downloaded it and then just paste it into your PowerPoint presentation.
You can then play around with the ink stamp filter file – rotate it, move it around or resize it to get the effect just right for your stamp and you should end up with something like this:
If you want to use these images in another application, such as in an email, brochure or on your website – or maybe even in your accounting system (a paid stamp image for your invoices…), you need to select all the components of the image, and then right click the selecting and select Save as Image. This will save it as an image file which you can then crop down to size and use anywhere – it will be your secret that this isn’t an expensive icon you purchased or got designed by professionals – it was made in PowerPoint!
Here are some final tips:
– Remember ink stamps can only be one colour, so only use one colour
– Stamps are not usually perfectly straight on the page, so rotate it even slightly to make it look authentic
– Don’t use vibrant colours – stamps tend to be a bit dull


