 If you are using PowerPoint, Word, Publisher or actually any graphical layout program, such as InDesign, and you want to add some text in an old rubber ink stamp font, you are in luck if you:
1) Have a program like Photoshop and know how to simulate a stamp effect on your work
2) Have found a website that has an ink stamp font that you like
But – there are problems with both those options, as I see it.
For option one, you need to have a special program like Photoshop, which I presume most of us don’t have.
For option two – if you are searching for perfection, the problem with an ink stamp font that you would download is that each letter is identical – therefore you don’t get an authentic looking stamp. What I mean by this is that if the A has a smudge at the top of it, ALL the A’s in your word will have the exact same smudge – in real life, this doesn’t happen – each letter has its own unique pattern.
Another problem with option two is that in some cases, and depending on how you distribute the file, for the ink stamp font to display correctly on other computers, they must have that same font downloaded and installed on their machine too, which probably isn’t the case for most computers.
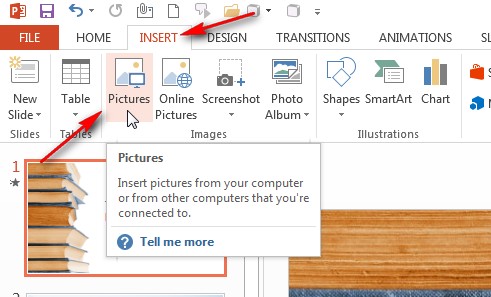
So, the alternative is to use any font you have available on your machine by default, and then insert an image file, which you can download here, on top of your text, giving it the effect you are looking for.
So here are the instructions on how to do this:
How to create your old rubber ink stamp font effect
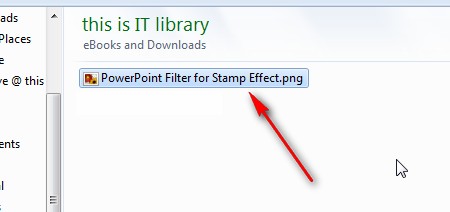
First make sure you have downloaded and saved the filter image – go to the end of the post for instructions.


Have fun!
Download this file:
[download id=”434″]


